How Star Photo Identification Works
After reading this you will understand how a flat photo of the night sky can be matched to the real sky without knowing where the camera pointed, how the match is proven beyond coincidence, and how to read the pointing, field of view and lens model the tool reports.
Take a photo of the stars with your phone. There is nothing in the file that says which stars they are. The pixels are just bright dots on a dark background. Yet an astronomer can hand that same photo to a computer and get back the exact patch of sky it shows, down to a fraction of a degree, along with the lens that took it. The method is called plate solving, and the Star Photo Identifier runs it entirely in your browser.
The hook: a 2003 photo of Orion taken by astronaut Don Pettit from the International Space Station. Drop it in and the tool names Betelgeuse, Rigel, the three belt stars and the Orion Nebula (M42), and reports that the frame covers about 27 by 18 degrees of sky, centred on right ascension 5h 50m, declination 0 degrees, taken with a lens equivalent to about 76 mm on a full-frame camera. No GPS, no compass, no star labels in the file. Just the pattern.
What the tool actually does
The sky is a fixed map. Stars sit at known positions measured in two angles: right ascension (like longitude, measured in hours from 0 to 24) and declination (like latitude, from -90 to +90 degrees). The tool's index holds 41,000 of them, every star down to magnitude 8 from the Hipparcos catalogue, whose positions are good to about a thousandth of an arcsecond, far finer than any phone can resolve.
Your photo is a different thing: a flat grid of pixels. Somewhere a camera took the curved sky and projected it onto a sensor. The job of plate solving is to recover that projection. Concretely, it recovers four things:
- Pointing
- The right ascension and declination at the center of the frame, two numbers.
- Rotation
- How the camera was tilted relative to north, one angle.
- Scale
- How many degrees of sky each pixel covers, which fixes the field of view and focal length.
- Lens model
- Normal (rectilinear) or one of three fisheye projections, plus barrel or pincushion distortion.
Once those are known, every pixel maps to a sky coordinate and every sky coordinate maps to a pixel. That is what lets the tool draw constellation lines on your photo and label the Orion Nebula at exactly the right spot.
When it works and when it does not
The method needs enough stars to form a distinctive pattern. The rule of thumb is about ten stars or more in the frame. A night-mode shot with a phone's main or wide lens almost always clears that bar: a 10-second exposure of a dark rural sky can record 50 to 200 stars.
It fails when there is too little to go on. A zoomed-in shot of a bright city sky might show only Vega, Deneb and Altair, three stars. Three points can be fit to thousands of places in the sky by chance, so no honest solver will claim a match. A single bright planet with no stars around it is hopeless: planets are not in the star catalogue, because they move.
If a photo will not solve, take a wider shot. Doubling your field of view from 20 to 40 degrees typically quadruples the number of catalogued stars in frame, which is usually the difference between failure and a solid match.
The idea: shapes that ignore rotation and zoom
The hard part is that your photo could be pointed anywhere, rotated any way, and zoomed to any scale. A direct search over all those possibilities is enormous. The trick, from the Astrometry.net approach, is to describe the star pattern in a way that does not change when you rotate or zoom.
Take four stars. Call the two farthest apart A and B. Build a square coordinate system where A sits at (0,0) and B at (1,1). The other two stars, C and D, now have coordinates somewhere inside that box. Those four numbers,
are the geometric hash of the quad. Here x_C and y_C are the position of star C in the AB frame, and likewise for D. Rotate the photo, and A and B still define the same box, so the hash is unchanged. Zoom in or out, and the box just rescales, so the hash is unchanged. Move the quad across the frame, and the hash is unchanged. Rotation, zoom and position all drop out.
The tool precomputes these hashes for about 80,000 four-star quads drawn from the catalogue and stores them in an index. For your photo it forms quads from the brightest detected stars, computes each hash, and looks up nearby hashes in the index. A matching hash is a candidate: it says "these four photo stars might be these four catalogue stars."
Proving the match beyond coincidence
A matching hash is a guess, not a proof. Four stars in the photo could happen to form the same shape as four unrelated catalogue stars. So every candidate is tested. The tool takes the pointing, rotation and scale implied by that one quad and uses them to predict where all the other catalogue stars should fall in the photo. If the guess is right, dozens of other stars will land almost exactly on detected dots. If it is wrong, they will scatter randomly.
The acceptance test is a false-positive probability. The tool accepts a solution only when the odds of that many stars lining up by chance are below one in a hundred million. A useful mental model:
Here n is the number of catalogue stars that could fall in the frame, a is the small match tolerance area around each predicted position (a few pixels wide), A is the whole frame area, and m is how many extra stars matched. The ratio n \cdot a / A is the chance one random star lands on a prediction, maybe 0.02. Raise that to the 5th power and you get 3.2 \times 10^{-9}, already below the threshold. Each extra matched star makes a false alarm about 50 times less likely. That is why ten matched stars is overwhelming and three is nothing.
A worked example: the demo photos
Solving the ISS Orion frame
The tool has two sample photos: Pettit's Orion from the ISS and Neal Herbert's Milky Way over Yellowstone. This is what happens when you load the Orion one:
- Detect star-like points. The Orion frame yields 500 of them, the detector's limit, each centred to a fraction of a pixel.
- Form quads from the brightest few dozen points and turn each one into its four-number code.
- Look up each code in the 80,000-quad index. Within the first few tries, one code comes back with a catalogue quad of the same shape.
- From that quad, predict positions for every other catalogue star in the field. Hundreds of them land within a pixel of a detected dot.
- Count the matches. After the final fit 372 stars are confirmed with an average error of 0.34 pixels, the false-positive probability is far below
1e-8, and the solve is accepted.
The reported centre is \alpha \approx 5^{\text{h}}50^{\text{m}}, \delta \approx 0^{\circ}, with a field of view of 26.7 degrees on the long axis and a normal (rectilinear) lens with about 1% barrel distortion at the corners. Because this frame was shot from orbit with no ground location, the tool reports pointing in sky coordinates but not an altitude above a horizon.
Reading the results
Once a solve is accepted, the tool fits the full camera model to every matched star and reports several things. Read them this way:
- Pointing in right ascension and declination is where the center of your frame sits on the sky map. It is always available after a solve.
- Field of view tells you how wide your lens is. A phone's main camera, a 24 to 28 mm equivalent lens, usually lands between 75 and 85 degrees diagonal.
- Lens model and distortion say whether the solver treated your lens as rectilinear or fisheye. Phones straighten their ultrawide pictures in software, so those usually come out as normal lenses with some leftover barrel distortion; a true fisheye lens is recognised as one.
- Mirrored flag: if you shot through a star diagonal or with a selfie camera, the image is flipped. The tool detects this and still solves.
If the photo carries date, time and location in its EXIF data, two more things appear. The planets and the Moon are placed, because their positions depend on the date. And the horizon with compass points is drawn, so you learn which way you faced and how high you aimed. An Orion shot that reports an altitude of 35 degrees and an azimuth of 160 degrees means you looked roughly south and well up from the horizon.
Many messaging and social apps strip EXIF on upload. If your photo lost its date and location, the sky solve still works, but the tool cannot place the planets, the Moon or the horizon. Type the date and place in by hand to get those back.
Common mistakes
A few things cause avoidable failures or confusion:
- Too few stars. A bright city sky or a long telephoto shot may show four or five stars. Below about ten, expect it to struggle. Shoot wider and longer.
- Trusting the planets without a date. A bright dot that the tool does not label may be a planet. Planets are not in the star catalogue, so without the date the tool cannot name them. Supply the date and they appear.
- Heavy noise read as stars. Very high ISO shots produce noise specks and hot pixels. The detector drops single-pixel spikes and the solver tolerates a fair share of false detections, but a grainy frame with hundreds of specks and few real stars can still fail.
- Expecting an altitude without a location. Pointing on the sky is pattern-only and always works. Altitude and azimuth require knowing where on Earth you stood and when, because the same star sits at different heights from different places.
Related tools
Once you know where your photo points, you may want to explore the same sky in other ways. The Planetarium & Star Chart draws the whole sky over any place and time, including satellite passes, which is a good way to confirm what you photographed. To understand why a star sits where it does in your horizon, the Day & Night World Map shows the sunlight terminator, and the Solar Time vs Clock Time tool explains the gap between your clock and true sun time that shifts when stars rise.
Frequently asked questions
Does the tool need to know where my camera pointed?
No. That is the whole point of blind plate solving. It recovers the pointing from the star pattern alone. If you also give it a date and a location, it adds the horizon, the planets and the Moon, but the sky solve never needs them.
Why could it not identify my photo?
Almost always too few stars. The method needs about ten or more. Zoomed-in shots, bright skies and heavy noise are the usual culprits. A wider, longer, lower-ISO exposure of a dark sky fixes most failures.
Can it label planets and the Moon?
Yes, but only when it knows the date and time, because planets and the Moon move against the fixed stars. With a date, their positions are computed and placed in your frame. Without it, they stay unlabeled.
Does my photo get uploaded anywhere?
No. The detection, the hash index and the solve all run in your browser. Your files and any location data never leave your device.
How accurate is the pointing?
Very. On simulated skies, where the true answer is known, the centre comes out within a few arcseconds (seldom more than 15) and the field of view within about a tenth of a percent. On real photos, lens quirks and soft star images add a little, but the centre is still good to well under an arcminute, far finer than anything you could see in the picture.
Related tools
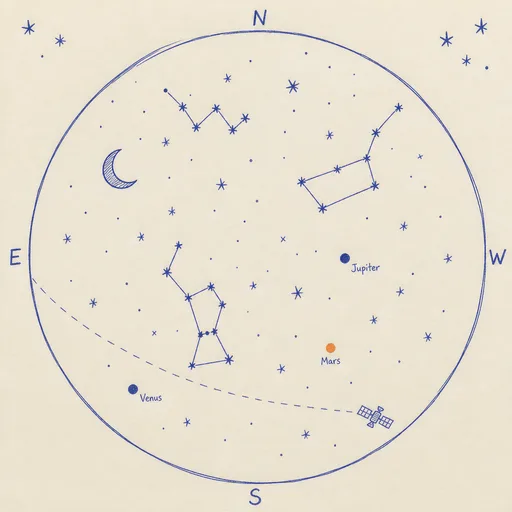
Planetarium & Star Chart
The whole sky over any place and time: stars, constellations, planets, the Moon and satellite passes.
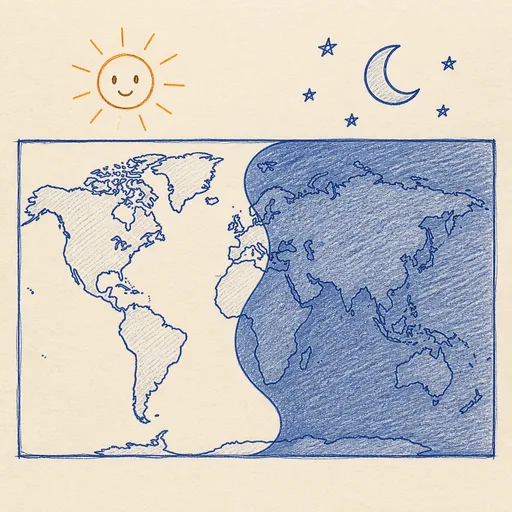
Day & Night World Map
Live sunlight terminator on a world map, with date and time sliders.
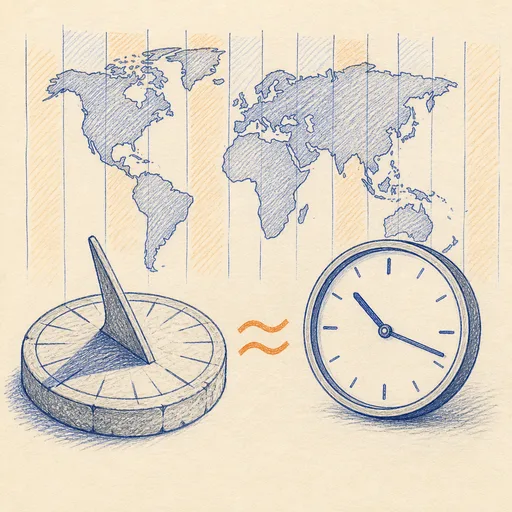
Solar Time vs Clock Time
How wrong is your clock? See the gap between official time and sun time anywhere on Earth.
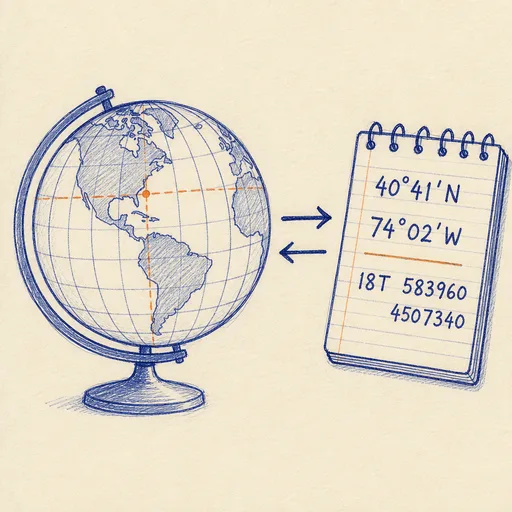
Coordinate Converter
Convert between decimal degrees, DMS, UTM, MGRS, geohash and Plus Codes — with a map.
Great Circle vs Rhumb Line
Why flights look curved on the map: shortest path vs constant bearing between any two points.
Antipode Finder
Click any point on Earth and see where you would come out if you dug straight through.