LED Series Resistor Calculator, Explained
After reading this you can size the resistor that runs any LED safely from any supply, read off the current and power dissipation, and know which standard resistor to actually buy.
What the resistor is for
An LED is not a resistor. It does not obey a simple straight-line relationship between voltage and current. Instead it holds a nearly fixed voltage across itself once it turns on (its forward voltage), and the current through it climbs steeply above that point. Connect a 2 V red LED straight across a 5 V supply and the current is limited only by the tiny internal resistance of the diode and the wiring. That current is enormous, and the LED cooks in a fraction of a second.
The series resistor fixes this. You put it in line with the LED so the same current flows through both. The resistor drops the leftover voltage (5 V supply minus 2 V across the LED leaves 3 V for the resistor) and, because a resistor does obey Ohm's law, that leftover voltage sets a predictable current. Choose the resistor value and you choose the current.
The LED and the resistor are in series, so the current through both is identical. The two voltage drops add up to the supply voltage. That single fact is the whole design.
When to use this method, and when not to
A single series resistor is the right answer for indicator LEDs, panel lights, status blinkers, and anything running at 20 mA or so from a fixed low-voltage supply. It is cheap, it needs no chip, and it is hard to get wrong once you know the formula.
It is the wrong answer in three cases. First, for high-power LEDs (1 W and up) a resistor wastes too much energy as heat and cannot hold current steady as the LED warms and its forward voltage drifts. Those want a constant-current driver. Second, when the supply voltage varies a lot, for example an unregulated battery sagging from 4.2 V to 3.0 V, a fixed resistor lets the brightness swing. Third, do not wire several LEDs in parallel behind one shared resistor. Their forward voltages never match exactly, so one hogs the current and burns brighter and hotter than the rest. Give each parallel branch its own resistor, or wire the LEDs in series as this calculator supports.
The formula and the intuition behind it
Start from the loop. The supply pushes voltage V_s around the circuit. The LEDs consume n \cdot V_f of it, where n is how many LEDs sit in series and V_f is one LED's forward voltage. Whatever is left has to fall across the resistor. Ohm's law then converts that leftover voltage into a resistance for your chosen current.
Here R is the resistance in ohms, V_s is the supply voltage in volts, V_f is the forward voltage of one LED in volts, n is the number of LEDs in series, and I is the target current in amperes. If you enter the current in milliamperes, divide by 1000 first: 20 mA is 0.020 A.
The resistor also turns some power into heat. That power is the voltage across the resistor times the current through it:
Both forms give the same number. Use whichever quantities you already have. The result tells you how big a resistor to buy physically: a 1/4 W (0.25 W) part, a 1/2 W part, and so on.
If n \cdot V_f is greater than or equal to V_s, the numerator goes to zero or negative and the formula is meaningless. Three blue LEDs at 3.2 V each need 9.6 V, so they simply will not light from a 5 V supply no matter what resistor you pick.
A worked example with the demo numbers
One red LED on 5 volts at 20 milliamps
These are the tool's default values: supply 5 V, forward voltage 2 V, one LED in series, current 20 mA.
- Find the voltage the resistor must drop:
5 - 1 × 2 = 3V. - Convert the current to amperes:
20 mA = 0.020 A. - Divide to get the exact resistance:
3 / 0.020 = 150Ω. - 150 Ω is already an E24 standard value, so no rounding is needed.
- Compute dissipation:
3 × 0.020 = 0.06W, or 60 mW.
A 1/4 W (250 mW) resistor dissipating 60 mW runs at about a quarter of its rating, which is comfortable. The footnote advice to pick at least twice the computed power is easily met here.
Now change one thing. If the exact value had landed at, say, 138 Ω, the nearest E24 value is 150 Ω. Rounding up to 150 Ω lowers the current slightly (safer for the LED); the tool reports the actual current you get, not just the target. With a 150 Ω resistor and 3 V across it the real current is 3 / 150 = 0.020 A exactly, so here the target and the reality match.
How resistor choice moves the current
Because current is voltage divided by resistance, picking a larger resistor dims the LED and a smaller one brightens it. The relationship is a simple inverse curve for a fixed supply and forward voltage.
Read the curve: doubling the resistor from 150 Ω to 300 Ω halves the current from 20 mA to 10 mA and roughly halves the perceived brightness. This is why picking the next standard value up is a safe habit. A slightly larger resistor never damages the LED; a slightly smaller one can push current past the rated maximum.
Reading and interpreting the results
The calculator returns four numbers. Here is what each one means in practice.
- Exact resistance
- The ideal value straight from the formula. You will rarely find this exact part on a shelf, so treat it as the target.
- Nearest E24 value
- The closest resistance in the standard E24 series (the 24-step-per-decade set: 100, 110, 120, 130, 150, 160, and so on). This is what you buy. To decode the color bands on the part you receive, use the Resistor Color Code Calculator.
- Resulting current
- The actual current with the standard resistor, not the target. It differs slightly from what you asked for because the standard value differs from the exact value. Anything within a couple of milliamps of your target is fine for an indicator.
- Power dissipation
- Heat the resistor produces. Buy a resistor rated for at least twice this, so 60 mW of dissipation is safe on a 1/4 W part.
Common mistakes
These are the errors that burn out LEDs or resistors.
- Using milliamps as amps. Entering 20 instead of 0.020 in a hand calculation gives a resistance 1000 times too small. The tool takes milliamps directly, but if you check the math by hand, watch the units.
- Ignoring resistor power. On a 12 V supply driving a 2 V LED at 20 mA, the resistor drops 10 V and dissipates
10 × 0.020 = 0.2W. A 1/4 W resistor runs hot here. Step up to 1/2 W. - Guessing forward voltage. A blue LED at 3.2 V behaves nothing like a red one at 1.8 V. Using 2 V for a blue LED on 5 V asks for
(5 - 2) / 150 = 20mA but the real current is(5 - 3.2) / 150 = 12mA, so the LED comes out dimmer than planned. Use the datasheet value. - Parallel LEDs on one resistor. Covered above: give each its own resistor or wire them in series.
- Rounding down. When in doubt pick the larger standard resistor. Less current is safe; more current is risk.
Related tools
Once you have the resistance, the Ohm's Law Calculator lets you cross-check any two of voltage, current, resistance and power. If your supply itself comes from a divider or a sensor node, the Voltage Divider Calculator finds the resistor ratio for a target voltage. And if the LED is part of a timed flasher built from an RC network, the Capacitor Charge Calculator gives the charge curve and time constant.
Frequently asked questions
What resistor do I need for a 3 V coin cell and a red LED?
With a 3 V supply and a 1.8 V red LED at 20 mA, the resistor is (3 - 1.8) / 0.020 = 60 Ω, nearest E24 value 62 Ω. But coin cells have high internal resistance and cannot supply 20 mA for long, so many small builds skip the resistor and rely on the cell's own resistance to limit current. That works but is not precise; a small resistor is still better.
Can I put the resistor on either side of the LED?
Yes. Since they are in series, the same current flows regardless of order. Put the resistor before or after the LED, it makes no difference to the current or the LED brightness.
Why is my LED dimmer than expected?
Usually the forward voltage is higher than you assumed, or the supply sags under load. Measure the actual voltage across the resistor while running, divide by the resistance, and you get the true current. If it is below your target, lower the resistor to the next standard value down and recheck the power rating.
How many LEDs can I run in series?
As many as fit under the supply voltage with a little margin for the resistor. On 12 V with 3.2 V blue LEDs you can run three (3 × 3.2 = 9.6 V, leaving 2.4 V for the resistor). A fourth needs 12.8 V, more than the supply, so it will not light.
Does a bigger resistor protect the LED better?
It lowers the current, which is safer, but too big and the LED barely glows. The design point balances brightness against the rated maximum current. For most indicator LEDs, 10 mA to 20 mA is a good range; 5 mA still gives visible light while running cool.
Related tools
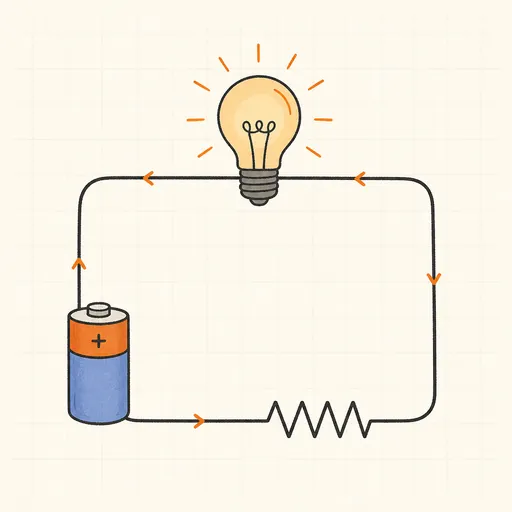
Ohm's Law Calculator
Any two of V, I, R, P — get all four.
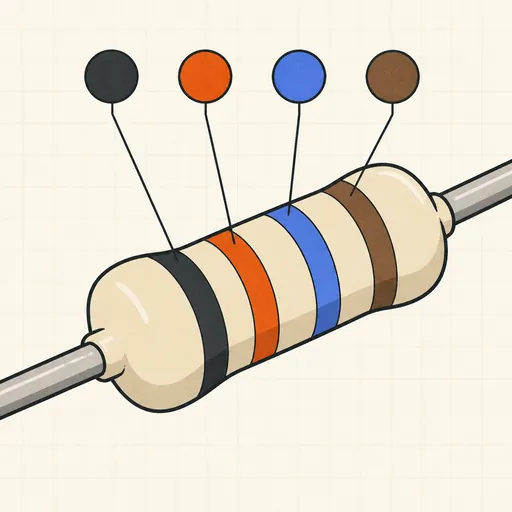
Resistor Color Code Calculator
4- and 5-band colors → value, or value → colors.
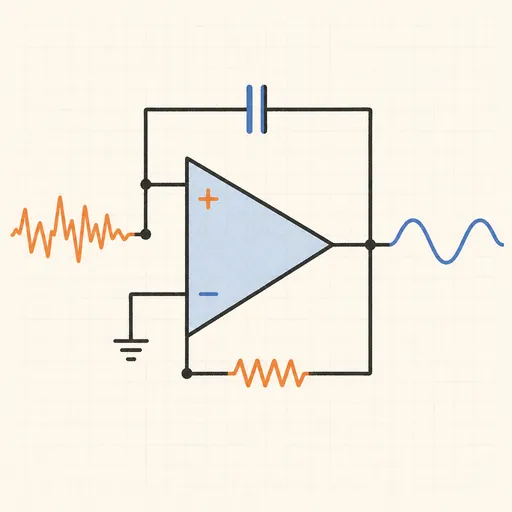
Active Filter Designer (Sallen-Key)
Butterworth, Chebyshev or Bessel — component values and Bode plot.
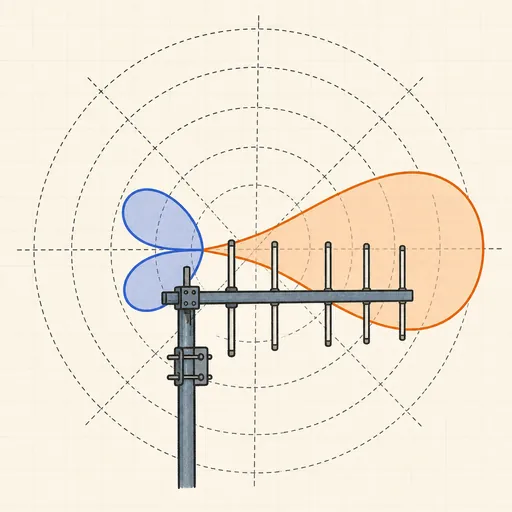
Antenna Radiation Pattern Explorer
Polar plots of dipoles, Yagis and phased pairs — see why more elements mean a narrower beam.
Capacitor Charge Calculator
RC time constant, charge curve and stored energy.
E-Series Resistor Solver
Best E12–E96 resistor or pair for any value or ratio.